💥 Demolition Crew Guide
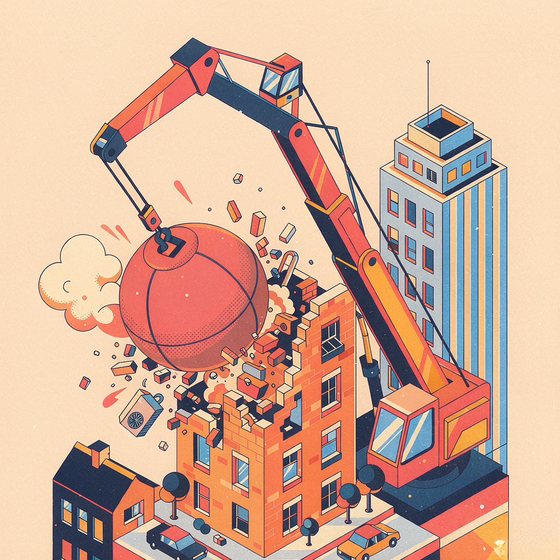
Demolition Crew is Mintford's arcade precision district: a wrecking-ball crane, a brick building, and an 80-second contract on every job. Keep the ball airborne, keep it under control, and flatten the block before the deadline — then do it again on a faster, narrower crane.
| Demolisher rank | Best score |
|---|---|
| 🧨 Apprentice Blaster | 500 |
| 🧨 Certified Blaster | 1,500 |
| 🧨 Wrecking King | 4,000 |
How the game works
Each contract hands you one building of brick wall sections. Slide the crane platform, launch the ball, and every wall it touches crumbles — top floors pay more than ground floors. Clear every wall and the contract closes with a completion bonus, then the next building loads: five layouts rotate (full block, pyramid, staggered columns, checkerboard, diamond), the ball gets faster, and your crane gets narrower with every job.
The deadline is the pressure. Each contract runs 80 seconds. Miss it and you lose a crane life; drop the ball and you lose one too. Three lives to start, one earned back every third contract (up to five). Lose them all and the job site shuts down — your contract value goes to the leaderboard.
Controls
Desktop: move the mouse to slide the crane, click or press Space to launch. Mobile: drag to steer, tap to launch. One input to steer, one to fire — the whole skill is in where the ball lands on the crane.
Scoring and the Demolisher career
Every wall pays 10 points per floor of height, scaled up 12% per contract, and clearing a building pays a 120 × level bonus on top. The tiers are 500 (Apprentice Blaster), 1,500 (Certified Blaster) and 4,000 (Wrecking King). Because bonuses scale with level, surviving to contract six or seven is worth more than perfecting contract one.
Beginner mistakes
- Letting the ball speed up forever. Every crane bounce adds a little pace; at the cap the ball is nearly uncontrollable. Angle it into wide open walls early rather than letting it ricochet wildly.
- Chasing the last brick across the screen. The ball travels through space you've already cleared — steer the platform under the ball's natural path instead of dragging it sideways.
- Ignoring the deadline. Clearing a wall slowly still loses a life if the 80 seconds run out. Kill big clusters early while the ball is slow.
- Edge hits at high levels. Steep rebounds are great on wide buildings and lethal on a narrow crane at contract five. Catch the ball near the platform centre when the pace rises.
Advanced strategy
- Open with the top rows. High floors pay double the ground floor, and clearing them early removes the ball's longest travel paths before the pace climbs.
- Use the crane as an angle tool. The rebound angle mirrors where the ball lands: centre sends it straight up, edges fire it sideways. Aim edge hits into dense rows, centre hits when you need breathing room.
- Bank lives early. Contracts one and two are slow enough to clear safely — don't take risks that cost a life you'll want at contract five when the crane is 76 wide.
- Read the layout before launching. Checkerboard buildings reward vertical wall paths; diamonds reward wide horizontal sweeps. Two seconds of planning beats ten seconds of chaotic rebounding.
Frequently Asked Questions
What happens when the 80 seconds run out?
You lose one crane life and the same contract restarts with a fresh 80 seconds and full walls. Lose your last life and the run ends with your contract value going to the leaderboard.
Do the buildings get harder?
Yes. Five layouts rotate, the ball starts each contract faster, the crane platform shrinks by 4 pixels a level, and each contract's value scales up 12% — difficulty and reward climb together.
How do I earn lives back?
One extra life every third contract (after 3, 6, 9…), capped at five. Protecting the lives you have is the core of a long run.
What's the fastest route to Wrecking King (4,000)?
Survive. A run that reaches contract six with two lives typically out-scores three short runs that clear contract one perfectly, because the per-contract bonus compounds with level.