🌉 Bridge Builder Guide
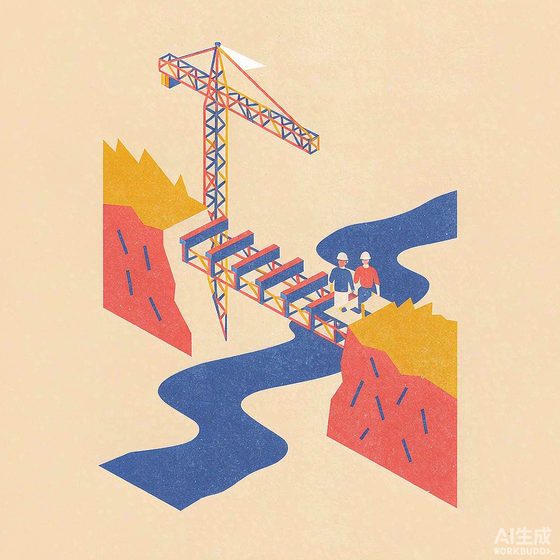
Bridge Builder is Mintford's engineering district: two banks, a gorge, a stack of girders and a limited pile of piers. Extend the deck from both sides, keep every span supported, and meet in the middle before the budget runs out. It is quiet, tactile, and quietly brutal about arithmetic.
| Civil Engineer rank | Best score |
|---|---|
| 🧱 Site Assistant | 500 |
| 🧱 Resident Engineer | 1,800 |
| 🧱 Chief Civil Engineer | 4,500 |
How the game works
Tap along the deck line to lay panels outward from each bank — a panel connects to anything already built next to it. The rule that ends runs: three consecutive unsupported panels collapse. A panel counts as supported if it sits on a bank or has a pier under it. Tap below the deck to sink a pier (spending one from your limited budget) under any built panel in the gorge.
Connect both banks and the crossing is complete: you keep the panel points, a bonus for unused piers, and a wider gorge loads next. Run out of piers with a gap remaining and the bridge stays half-built — that's the end of the run.
Controls
Desktop: click the deck line to lay panels, click below it to sink piers. Mobile: same, tap zones are generous. Hovering shows the target column before you commit.
Scoring and the Civil Engineer career
Every panel is +10, completed crossings pay 200 plus 50 per unused pier, and each new gorge is wider. Career tiers are 500 (Site Assistant), 1,800 (Resident Engineer) and 4,500 (Chief Civil Engineer). Deep runs are about crossing progressively impossible gorges with the same frugal pier count.
Beginner mistakes
- Laying panels by vibes. Count out loud: two unsupported panels is fine, the third is a collapse. The bridge never forgives a miscount.
- Building one direction only. From one bank you must carry every span yourself; from both banks you meet in the middle with half the unsupported distance.
- Hoarding piers for 'later'. A pier spent early enables panels you cannot place otherwise. Unused-pier bonus is real, but so is the bridge you never finished.
- Piering under bank panels. Bank panels are already supported — that's a wasted pier you will miss at the centre span.
Advanced strategy
- Piers every third panel, always. The rhythm 'deck, deck, pier' turns the whole district into counting. Boring is unbeatable.
- Plan the centre before you start. On wide gorges, decide where the middle pier goes first, then build outward to reach it. The centre is always the hardest span.
- Build to pier slots, not past them. Extending two panels beyond where your next pier can go just paints you into a collapse.
- Sacrifice bonus for distance. On late levels, spending every pier to cross is worth more than crossing with a fat unused-pile bonus — next-level gorges only get wider.
Frequently Asked Questions
What exactly counts as 'supported'?
Any panel on a bank, or any panel with a pier directly beneath it. Support does not transfer sideways — a panel next to a supported one is still unsupported.
Why did my bridge collapse on the third panel?
Three consecutive unsupported panels is the limit. The collapse triggers the moment the third one is placed, wherever it is in the run.
Can I remove panels or piers?
No — Mintford engineers build forward or not at all. Plan the centre span before the first panel goes down.
Is it better to keep unused piers or cross faster?
Early on, the unused-pier bonus pads your score nicely. From the wider gorges onward, spending piers to finish crossings is what actually advances your career total.